
Use the File Upload section to upload the CSV file that contains your forest plot data.
The File Upload section accepts a single CSV file.
How to Upload a CSV File
You can upload your file in two ways:
- Drag and drop the CSV file into the upload area.
- Click the browse option and select the CSV file from your computer.
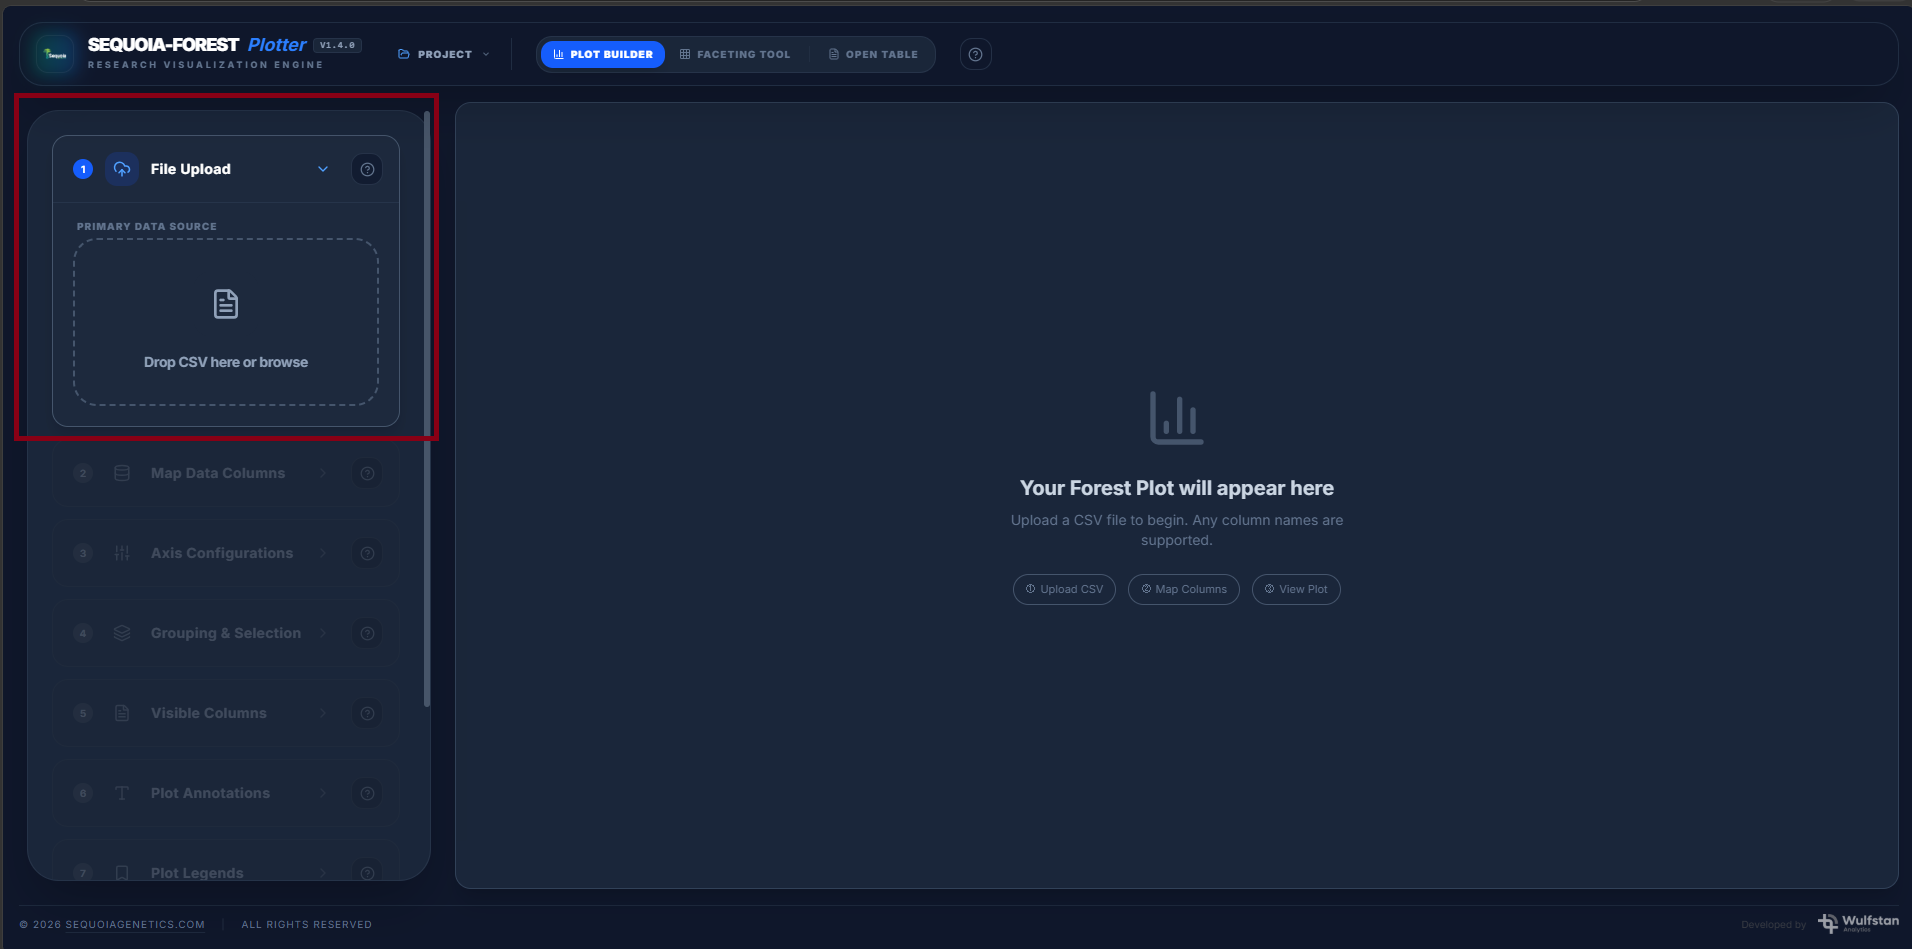
Only one file can be loaded at a time; loading a new file replaces the current file and resets all column mappings.
The file must be UTF-8 encoded with a header row in the first row.
The uploaded CSV acts as the primary data source for the plot.
After Uploading
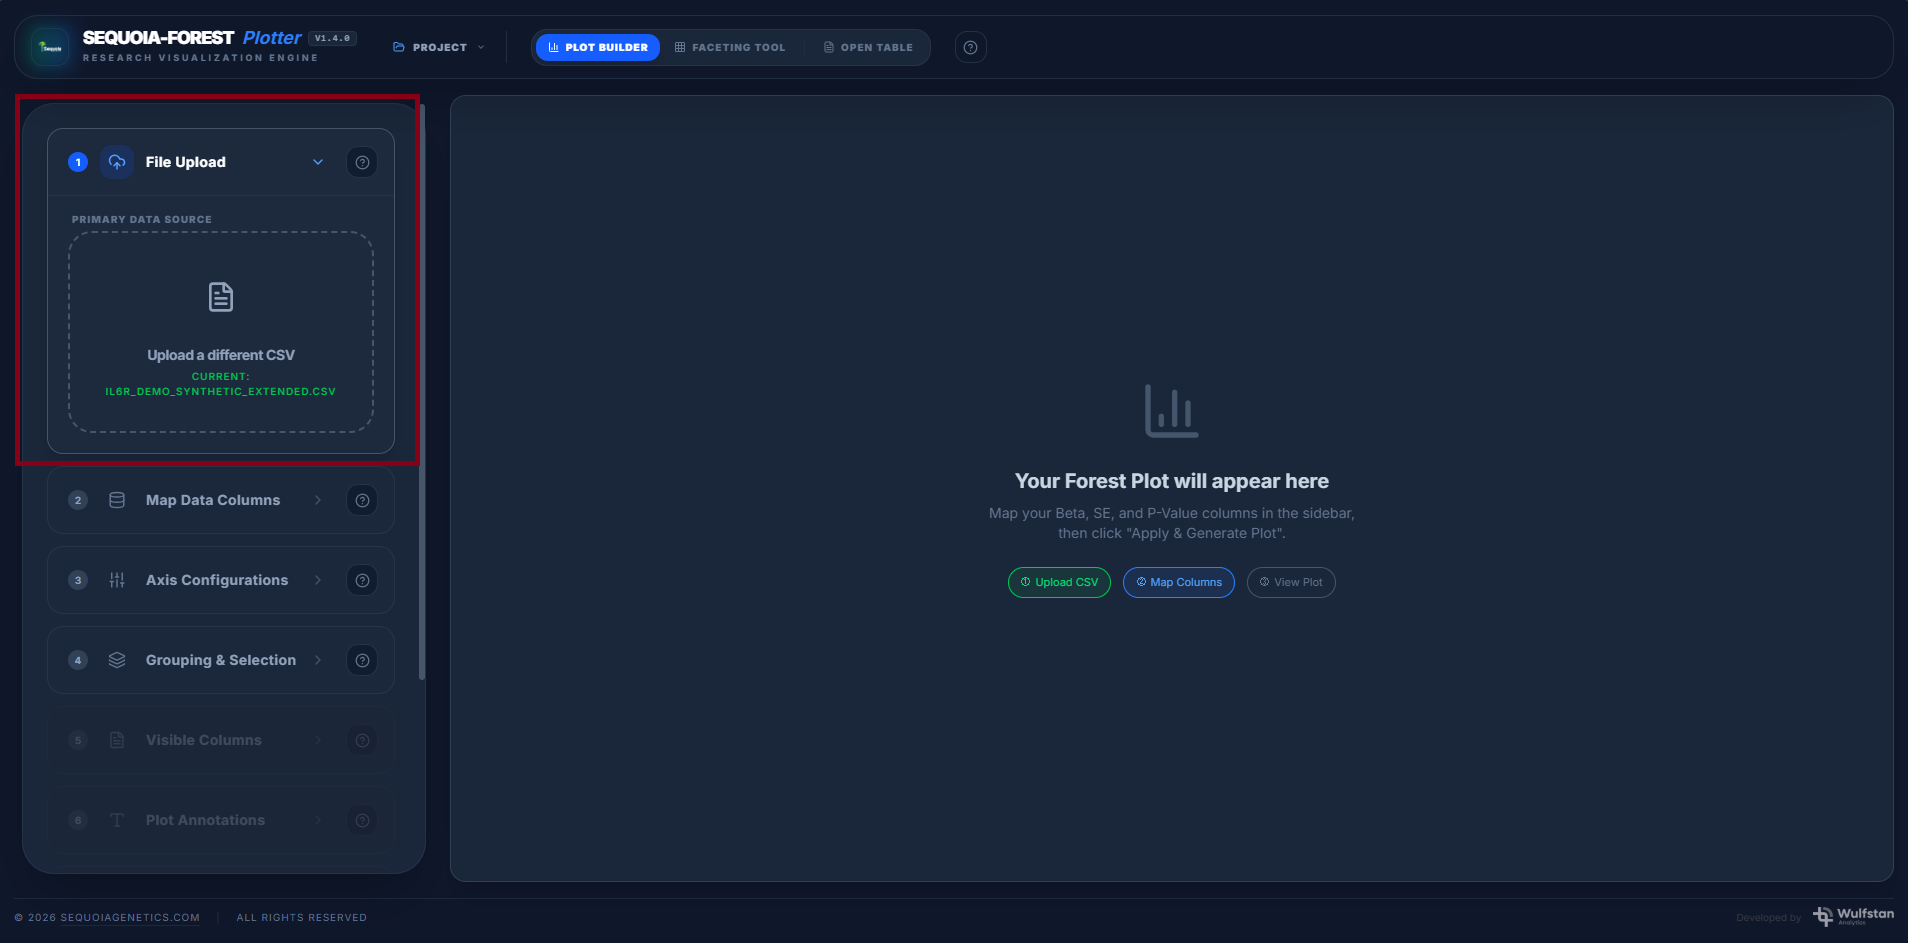
Once a file is loaded, the filename is displayed in the File Upload section along with two options:
| Option | Behavior |
|---|---|
| Keep styles | Preserves the current plot configuration. Use when reloading an updated version of the same dataset. |
| Reset styles | Reverts all settings to tool defaults. Use when starting a new plot from a different dataset. |
Selecting either option enables the Map Data Columns section.
All column names from the header row become available for mapping in the Map Data Columns section and all other column selector controls.
No data transformation is applied at upload; values are read as-is from the CSV.
Troubleshooting Upload Issues
If the file does not upload:
- Confirm the file is a
.csvfile. - Check that the file is not empty.
- Make sure the file has column headers.
- Close the file in Excel or another application and try again.
- Re-export the spreadsheet as CSV.